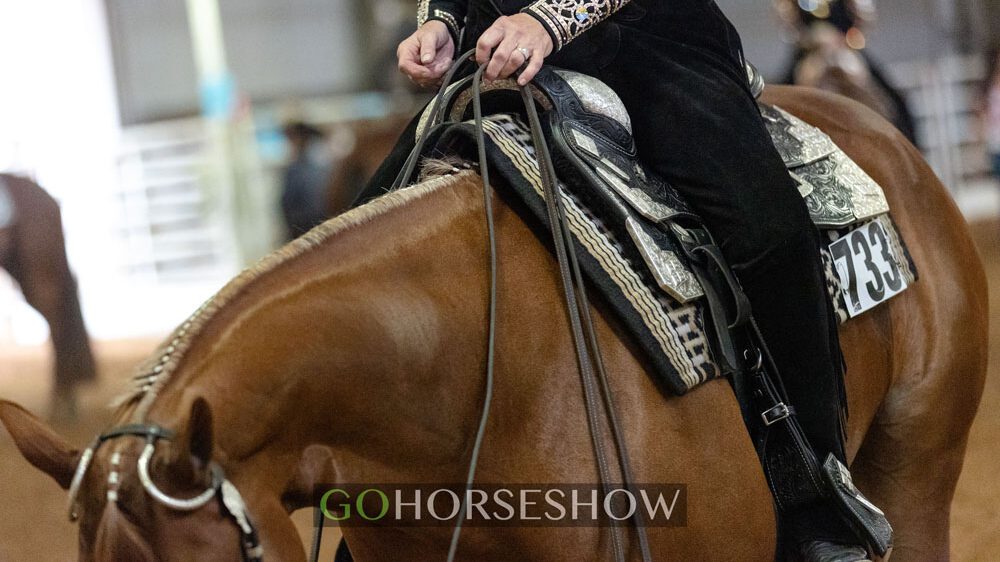
The shoulders are a source of frequent discussion in the performance pen – whether in the western or hunter classes, the horse’s shoulders need to be elevated to allow for the proper movement. But, what is the proper movement and how do we help encourage our horses to lift their shoulders?
We spoke with trainer Darci Howcroft of Masterson Farms about what to look for to ensure your horse is moving with their shoulders elevated. She gave us two helpful exercises aimed at establishing and maintaining proper shoulder positioning.
All About Lift
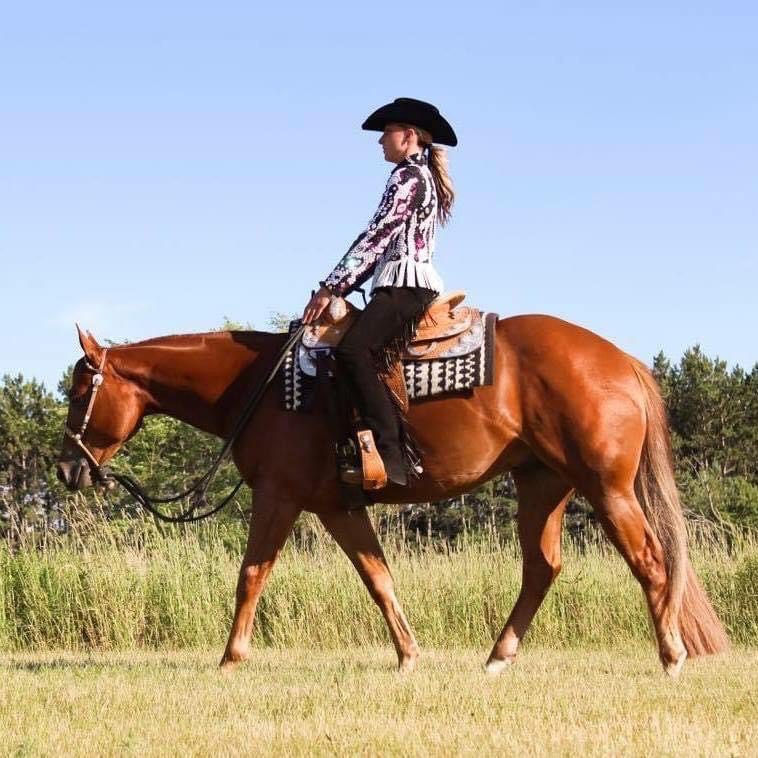 Howcroft explains, “There are two main things you should keep in mind to ensure your horse is moving correctly and in the proper position: (1) self-carriage and (2) impulsion. They need self-carriage and body control to utilize themselves to the best of their ability to perform the movement. And they also need impulsion or drive to allow for lift.”
She adds, “If a horse isn’t driving from behind, they will be forced to pull themselves along with the front end, which will inevitably cause their shoulders to drop.”
What is Howcroft looking for, exactly?
“I want to see a horse moving with its shoulders lifted, its hock driving, and with cadence and rhythm. The stride up front needs to match the stride behind – so, to move correctly, you do need to move forward. I would rather see a horse going a little more forward with rhythm and self-carriage than one with a mismatched stride that is collapsing on the shoulder for the sake of going slow.”
Essentially, Howcroft believes “the best pleasure horses have even, consistent rhythm and cadence, such that you could set a pendulum to their movement and have it match their strides.”
Exercise #1: Leg Yields and Two-Tracking
Howcroft recommends a progression of exercises to help focus on self-carriage and lift.
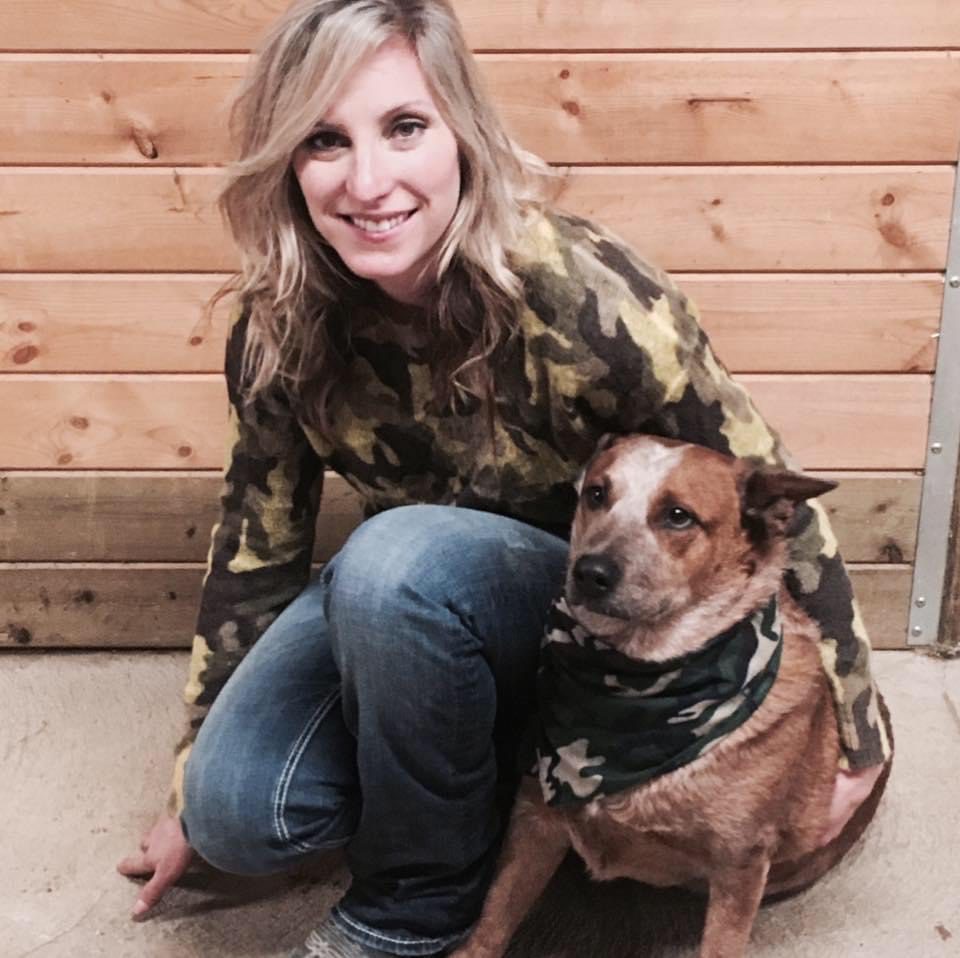 The first exercise she suggests working on is leg yields and two-tracking – yes, similar to what is done in dressage.
“I start my two-tracking exercises at the walk and then progress to the lope once the horse understands what I want and can maintain the correct body positioning in each gait,” Howcroft explains.
“You want the horse to move forward while their body also pushes sideways without them collapsing onto the shoulder in the direction you are moving toward.”
She adds, “Your horse should be moving straight from the shoulders through the neck to the poll. Then the front and back end need to push over at the same time while still going forward.”
Ultimately, the horse must be soft on their feet and have a matching rhythm to accomplish a proper two-track. “They need to move forward and feel free. What I mean by this is you can’t take one big stride and two short strides – they need to take even steps with both the hind and front ends in tandem.”
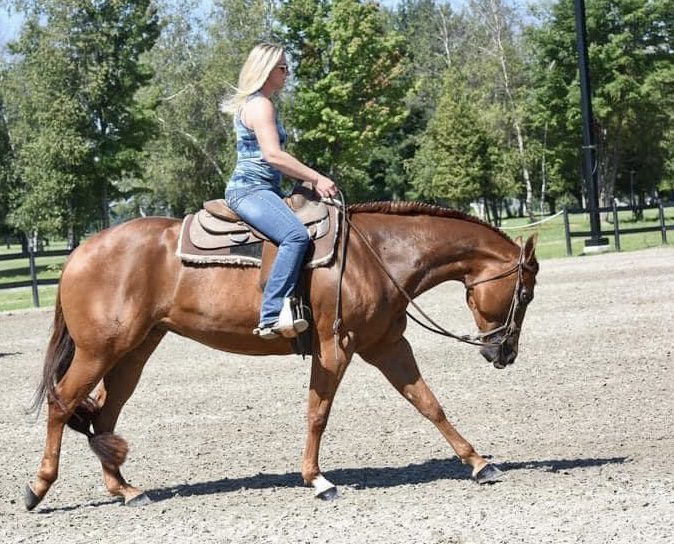 The point of this exercise is simple, “If they are matching strides, it forces the shoulders to lift. If they aren’t lifting, you will find their back end takes larger strides than the front end and their butt will start curling around so you are no longer in a straight position.”
This exercise also helps give you control of their feet, and, “if you can control their feet, you can control their speed and cadence.”
Once you’ve mastered the proper positioning with even strides at the walk, you can move up to the working jog and lope.
However, Howcroft cautions, “Whenever you add speed, you add a degree of difficulty. If you are struggling to maintain the proper form with more speed, it’s ok to go back down a gear and reinforce the positioning at the slower gait.”
Exercise #2: Figure Eights with Counter-Cantering
The second exercise is more advanced and Howcroft recommends using this one for horses who have mastered the two-track and who are not super green as it may reinforce bad habits with a green animal.
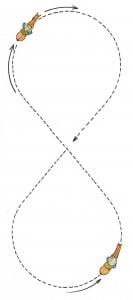 “Loping figure eights while maintaining a single lead really reveals where the holes are in an animal’s stride. You can start it at a trot with bending and counter bending, but the lope is much more difficult for the animal and will have a greater impact on emphasizing the way they carry their shoulders.”
Howcroft will begin the first circle of her figure eight on the horse’s favorite lead (their naturally better side) with the horse’s body bending to the inside. The animal’s shoulder and hip should be in and bent around the shape of your circle.
“The smaller your circle is, the greater the degree of difficulty,” Howcroft warns. “I recommend beginning with bigger circles until the horse understands what you are asking them to do. If you start too small, you may spend a lot of your time fighting with them to maintain both speed and their counter-lead.”
Once your horse is moving on the correct lead with cadence, impulsion, and a nice, easy bend to the inside of their circle it’s time to up the ante.
This is when Howcroft will cross the middle of her figure eight and move to the opposite circle while maintaining the original lead. Now it’s time to counter-canter while bending to the outside of the new circle. (If you are feeling out of breath just thinking about this… you’re probably imagining it correctly because it is hard work for both horse and rider.)
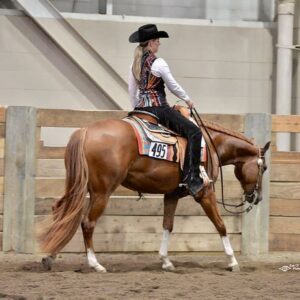
“You really need to use your feet to keep pushing your horse around the circle so that they don’t break down to the trot and so they maintain the proper counter-bend.”
During this counter-canter, Howcroft will ask the horse to move its neck back and forth to the left and right to loosen up its front end and allow her to be in control so its head doesn’t shoot in the air and its back becomes hollow.
In order to complete this maneuver, the horse will physically have to lift its shoulders. Howcroft chuckles, “If you find your horse keeps breaking down to a pony trot, it’s because they aren’t lifting their shoulders.”
She continues, “If your horse keeps the rhythm in its feet, with its head and neck relaxed and without short striding, their reward is to cross back through the middle of the figure eight and go back into the correct lead circle. Once you’re back on the correct lead, you need to drop the contact and leave them alone.”
Howcroft says, “The goal of this exercise is to show them it’s easier to go on the correct lead with shoulders elevated than it is to counter-canter until they stand up and move properly.”
Final Reminders for Riding the Corners
Of course, the most common place where a horse will drop their shoulder is when going around a corner on the rail at a show. The previous exercises will help them want to keep their shoulders elevated, but Howcroft has some important reminders for “riding the corners” when showing.
“First, ask yourself what you as a rider are doing when coming around a corner,” Howcroft recommends. “If you are leaning into the corner, it’s likely your horse will do the same.”
“Remember to ride deep into the corners with your shoulders back to set up correct movement on the straight away.” She adds, “If loping to the left, sit on your right pant pocket and keep your shoulders back to help your horse maintain the proper balance.”


